Importing Forms
Already have a form on Typeform, Google Forms, or Paperform? Import its structure into Rowform in seconds.
Import from Typeform
- Click New Form on your dashboard.
- Under Or start another way, select Import from Typeform.
- Paste the URL of your Typeform.
- Click Import Form.
- Rowform reads the form structure and recreates it with matching questions and settings.
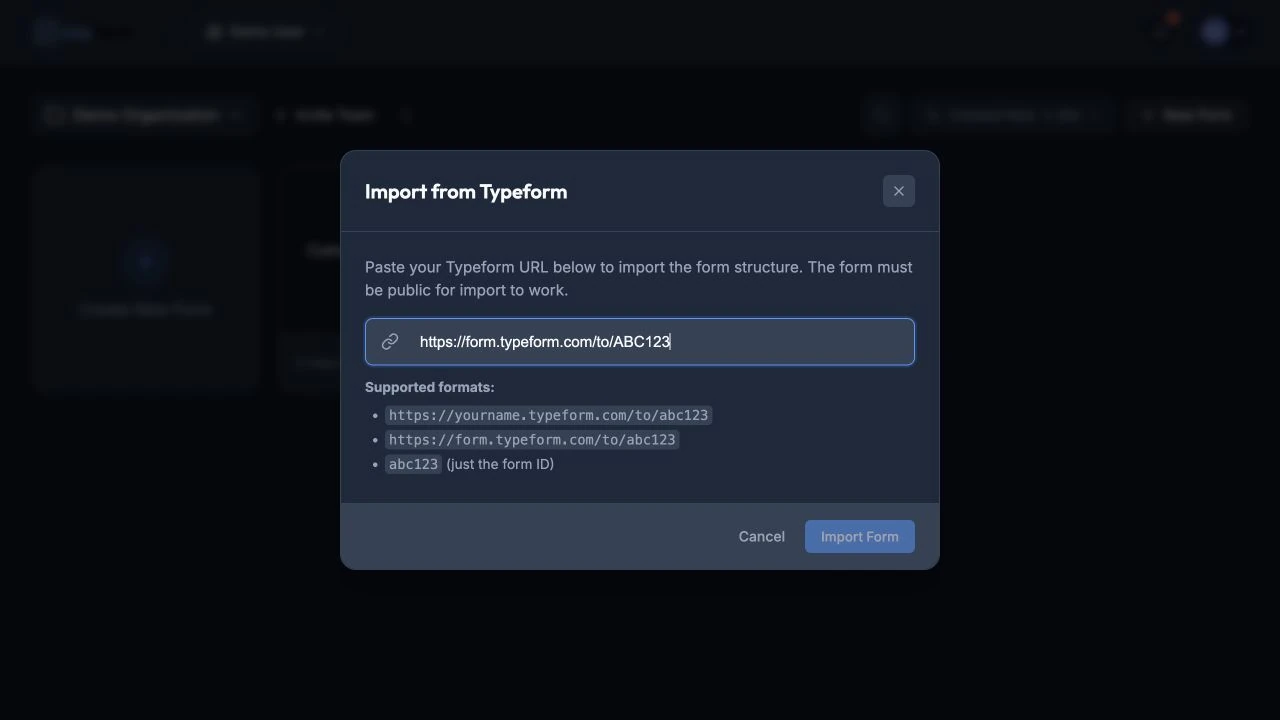
Paste the public Typeform URL to recreate its structure in Rowform.
What Gets Imported
- Question titles and descriptions.
- Question types (mapped to Rowform equivalents).
- Answer options for choice questions.
- Question order.
What Doesn’t Get Imported
- Existing responses (only the form structure is imported).
- Custom themes (you’ll need to re-apply your design in Rowform).
- Logic rules (re-create them with Logic in the Build toolbar).
- Integrations (reconnect in the Integrate tab).
Import from Google Forms
- Click New Form on your dashboard.
- Under Or start another way, select Import from Google Forms.
- Paste the URL of your Google Form.
- Click Import Form.
- Rowform reads the form structure and creates a matching form.
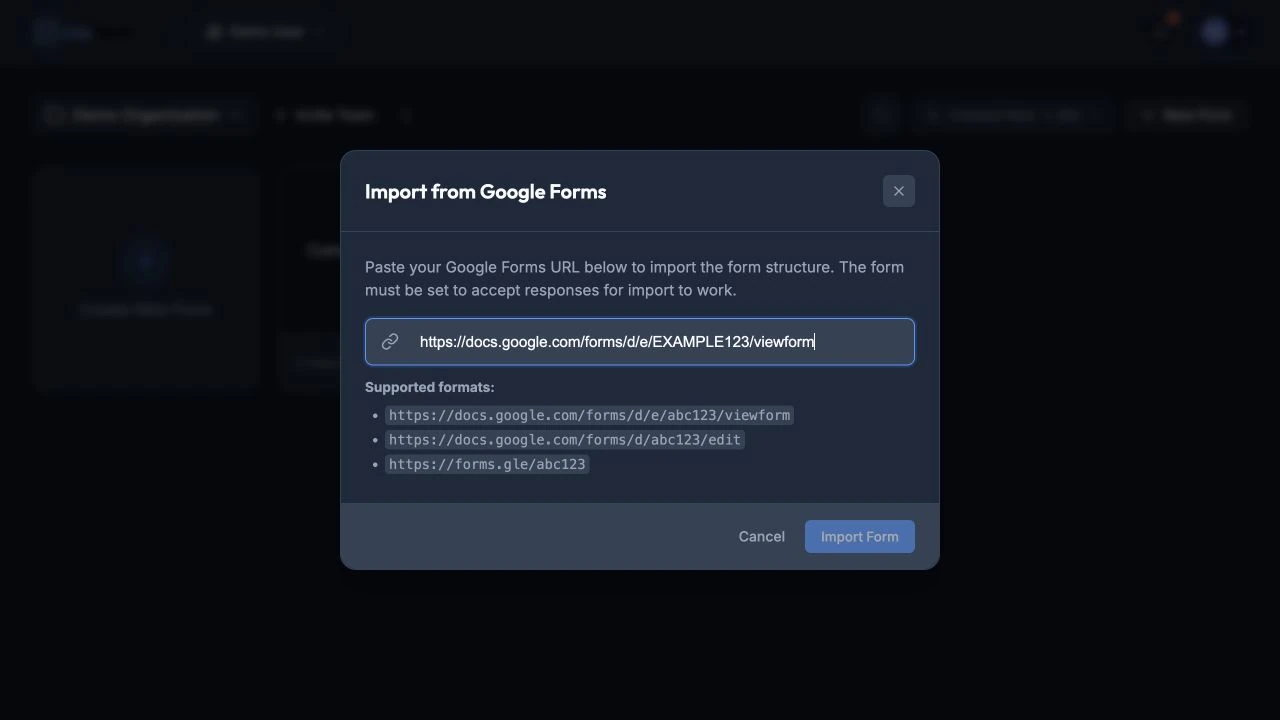
Paste the Google Forms URL to import its questions and sections.
What Gets Imported
- Question titles and descriptions.
- Question types (mapped to Rowform equivalents).
- Answer options for choice questions.
- Question order.
- Section headers (converted to Statement blocks).
What Doesn’t Get Imported
- Existing responses.
- Custom themes.
- Form logic/branching.
- Connected spreadsheets.
Import from Paperform
- Click New Form on your dashboard.
- Under Or start another way, select Import from Paperform.
- Paste the public URL of your Paperform.
- Click Convert Form.
- Rowform creates a new form from the supported Paperform content.
Questions, descriptions, required fields, and choices are converted. Existing responses, payments, and advanced logic are not imported.
After Importing
Once your form is imported:
- Review all questions — Make sure everything imported correctly and question types match your intent.
- Apply a design — Click Design in the Build toolbar to set colors, fonts, and branding.
- Add logic — Click Logic in the Build toolbar to re-create any conditional branching.
- Set up integrations — Connect Google Sheets, webhooks, or other integrations.
- Configure settings — Set up notifications, language, and closing rules.
- Publish — Click Publish in the builder header, then open Share to copy the link.
Tips
- Import is a one-time snapshot — changes to the original form won’t sync to Rowform.
- Use import as a starting point, then enhance the form with Rowform features like advanced logic, theming, and integrations.
- If the import doesn’t look right, try creating the form from scratch or using a similar template.
Last updated on